Showing posts with label tutorial. Show all posts

12.17.2013

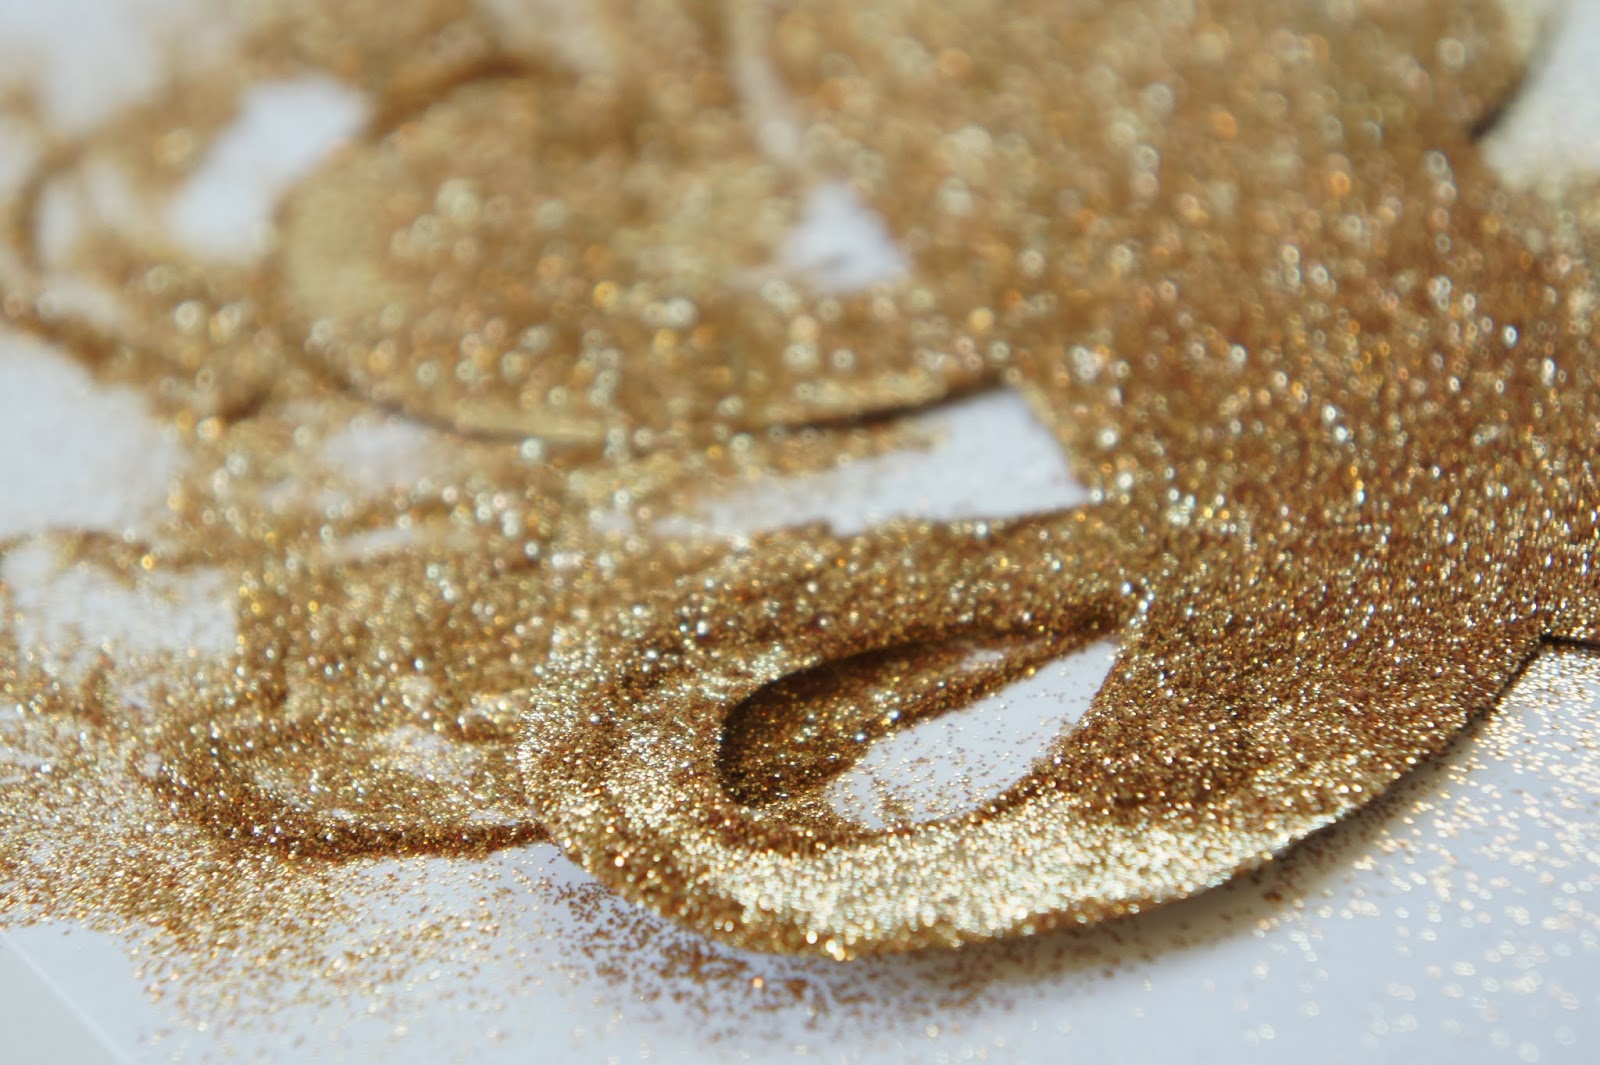
LIGHT HEART + GOLD GLITTER


I pinned this project two years ago…
made and photographed it last year…
and finally blogged it this year.

I like to take my time on pretty projects. :)

………….
Luckily I packaged it away carefully last year, and was able to pull it out and hang it up in all it's glitter glory again this year. And to me, it's a beautiful reminder to celebrate Jesus during this season. To not let the season become a stressful mess, but to keep my heart focused on the true reason we celebrate. It's not about having the perfect Christmas, it's about celebrating the perfect Savior. Let your heart rejoice!

4.05.2013

TAPESTRY TUTORIAL

Tapestry weavings are everywhere right now. I see it as an easy project for yarn lovers that may not know how to knit or crochet but want to make something beautiful. There are a lot of tutorials out there, but you know how I love a good use of cardboard, so here's how I made my textile...

I used a piece of cardboard, 9" x 18"
Cut tiny slits, a half inch apart, across the top and bottom.
Then wrapped the cardboard, front to back, with string.
I used yarn I had, twine, and bright colored rope.
Then started at the bottom and weaved long pieces,
over, under, over, under, over, under, TURN. and repeat!
And as you can see, tied on new yarn/twine/rope as each piece finished.
I made the row of shag with tiny pieces of cut yarn.
Keep going until you reach the top!
What you're looking at while you're working is the back, with all the tied on pieces.
  • MAKE NOTE // There are no rules, no yarn measuring needed.
  • As you turn, don't pull the edges too tight. You want the outside edges to stay as straight as possible to be able to hang well.
  • And smoosh down the rows as you go, to keep all the colors close together so there are no holes.
When finished, cut through the strings in the back of the cardboard.
Tie together every two pieces of string, at the top and bottom, to keep everything from unraveling. Then trim the excess string. If I had a dowel rod, I would have tied that to the top to hang it nicely from. But since I did not, I used a hanger. :)

Done, done!

The back. Just trim and tuck all those ends, maybe a little neater than I did. :)

This is up there with pom poms as being one of the least technical things I've made with yarn. Which I love and appreciate as a break from the very technical counting of crochet. I finished this in a day, and it felt super satisfying to hang up the finished product. I was originally inspired to try weaving by my sweet friend, Rachel. See her weave work HERE. And there's a pretty black and white one I'm in love with that can be seen HERE.
.......
Let me know if you try it! Would love to see and be inspired. xo!

 // see my other cardboard-turned-tool, tutorial HERE

12.03.2012

POM POM WREATH TUTORIAL

I posted this picture on instagram today, and was asked for a tutorial. Bam! Here it is.
A baby napping, and some afternoon light and iphone snaps, made this a quick one to share.
You need: yarn. scissors. cardboard. and not pictured... a wreath! I used a cheap styrofoam one I had.
(and not needed but pictured, a crochet hook. I don't know why I stuck that in there, ha!)
Cut a piece of cardboard 2.5 inches wide. The bigger the width, the bigger the pom pom.
Cut a slit, slide a piece of yarn through it.
Then take the yarn from the skein and start wrapping around the cardboard.
I wrapped 40 times per pom pom for these.
Now, use the piece of yarn you placed in the cardboard slit and tie a knot around your wrapped yarn.
Then slide the whole thing off. Make sure it's tied tight.
Start cutting through the loops and see your pom pom begin to pop open!
Give it a little trim around the edges to make it even and round.
Wrap your wreath in yarn to give it a finished look.
Then use those two long pieces of yarn left on your pom pom, and tie them all on your wreath.
Done! Now find a pretty place to hang it...

And as you can see, the poms continued to a garland on the mantel.
You can never have too many pom poms.

Let me know if you make one!

.................

pom pom wreath inspired by this years anthropologie holiday collection.
red yarn wreath made last year, using a modified version of goodknit's pattern.

Added note: yarn used is Lion Brand, Hometown USA Super Bulky, in Houston Cream color

10.10.2012

SIMPLY BOLD // REFASHION TUTORIAL

I'm guest posting on Simply Bold blog today, check it out HERE.
And to those visiting here, from over there... helloooo!

Way out of my comfort zone and a stretch from the family blogging norm here, this fashion post is a first for me. I knew I was going to be out of my element with this one, but after seeing the other guest posts this week, I realized even more how out of my element I was. So bless you Kristina for asking me to contribute to your fashion blog knowing this would be my first go at it! 

I like to alter clothes, it's always a fun challenge for me. From thrift store finds to store bought new, I love to change a piece to make it a better fit or style for me. And thanks to Kristina's encouragement, this is the first time I have taken before and after pictures of the process to share. Here it goes!

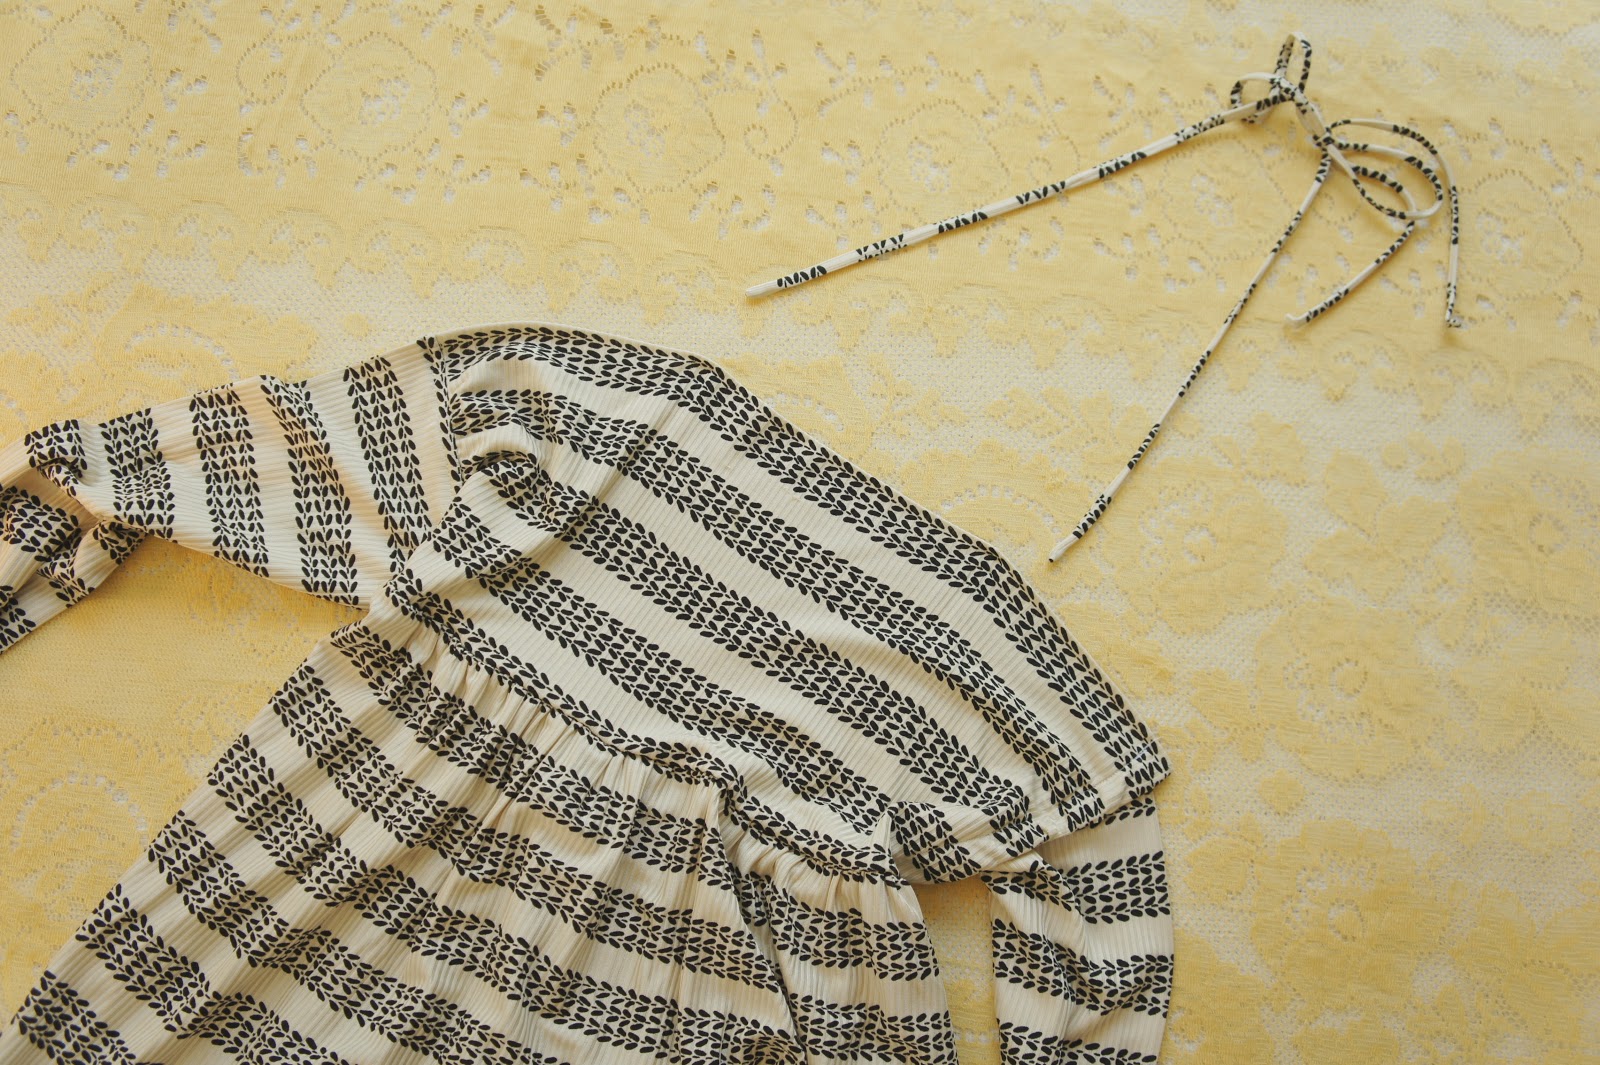
Is anyone else having as much fun shopping IG closets as I am? If you don't know about it, a bandwagon trend right now on instagram is people posting clothes from their closets and their kids closets to sell at garage sale prices. Its fun, easy, and quick to claim an item from the many "closets" out there. I bought this anthropologie silk dress from a favorite instagrammer, and couldn't wait for it to arrive. I already knew from the pictures what I was going to do with it...
 With the halter top straps and open back, I knew I wouldn't be wearing it as a dress with the cold weather coming. But pictured it's pretty patterned silk as a skirt worn with cozy sweaters.
 I carefully cut off the straps and folded the top down.
 Then sewed the seams shut, so they wouldn't show.
 My lines were a little off after a run through the sewing machine, so instead of pulling the stitching out for a do-over I just hand stitched the seam straight across the bottom.
Cut, stitched, folded over, and tied in the front instead of the back. Done!
And finding uses for the leftovers is always fun... a la spaghetti straps turned headband.

Every refashion is going to be different, but this (and the other post) was done to give you an idea of what to try and to just go for it!

Well that was a first and LAST fashion post for me. It's always fun to do something new and different for a change. But back to posting about Disneyland and Knotts Berry Farm now. :)

4.02.2012

PRINT WALL

Remember that print wall, here's the answers to your
"what's that?" and "where from's?"
 I crocheted this one about a year ago. {pattern HERE}
The God is Love embroidery and Jungle Animal one below are pass-downs from Jeff's family.
You can find similar Sunset Designs on Etsy, search vintage. Mine are from 1979 and 1977.
And the animals were never finished. Still haven't decided whether to continue to leave as-is
or take a needle and thread to it myself. :)
 These prints were found by doing a "free printables" search on Pinterest. {see HERE}

The DIYs done by me:
"BESOS" was a quick pen-to-paper
Heart was cut from scraps of leather
Cloud embroidery was a quick 10 minute project in a 3" hoop
Also, the white crochet above was the same pattern as the yellow, seen HERE

And the etsy prints were a black friday special from HERE
There ya have it!

2.01.2012

buggs and bows are back!

You may have already noticed, but I've re-opened up shop!
And the buggs are starting to overflow right into it, right here.
..........
As for the bows... come and get 'em! I've re-stocked and now have piles of them.
Including the new "oatmeal" color, as requested by a sweet shopper.
.......

And here is a simple tutorial to custom-fit your bow, to you or baby's head size...
You can wear the bow by leaving the ties hanging in the back as shown in the first picture. Or you can go with the seamless look in the last picture by following the tutorial. Either way works great!
(model-perfect hair creds go to my sis... thanks liana!)
.......
Oooor, you can slip the chain off completely and bobby pin it to a high bun like I did yesterday,
shown in the picture above.

And here are a couple bow-wearing/baby-carrying pics from my instagram feed...
........
NOW, send me YOUR pics of mama and baby bow wearing!
Or babies with BUGGS!
I 'm working up a post featuring YOU lovelies. email me!
.........


UPDATE: Thanks for sending pictures! Here are lots of babies and mamas wearing bows:
BOW TIE BOYS AND HEADBAND BEAUTIES